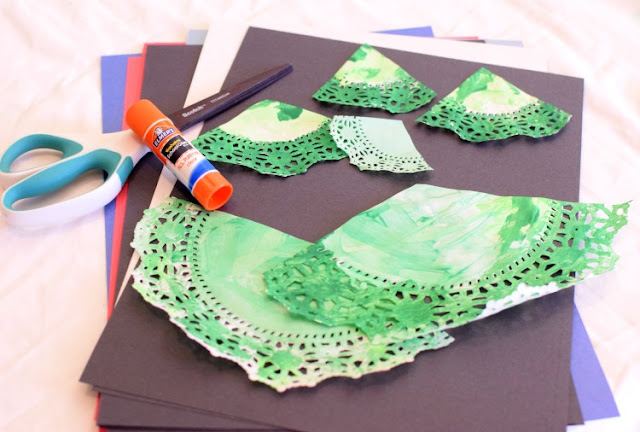
These Paper Doily Christmas Trees deserve a place on your Christmas craft to-do list. The beautiful frills and patterns of paper doilies made a beautiful texture once the trees were painted and assembled. My girls really enjoyed this project, AND it was quick and easy, too!
[Click HERE For More Great Christmas Crafts And Activities]
This
post may contain Amazon or other affiliate links. If you use these
links, I may earn a commission at no additional cost to you. Click here for my full privacy and disclosure policies.
Gather Your Materials
For this project you'll need:
- paper doilies in a variety of sizes (We used separate packs of 10", 8", 6", and 4", but this assortment should do the job.)
- green paint (we used poster paint and liquid watercolors)
- paintbrushes
- scissors
- glue stick
- construction paper
Paint The Doilies
Let your children paint at least one doily in each size that you have. It will be helpful to put a tray or pan down underneath your work, since the doilies have hundreds of little holes!
My girls painted in several shades of green, with both regular paint and watercolor. Set the doilies aside to dry.
Assemble Christmas Trees
Once the paint has dried, cut the doilies into wedges of various sizes. Make sure you have some that are big enough to be the base of the tree, and others that are narrow enough to be the tip top!
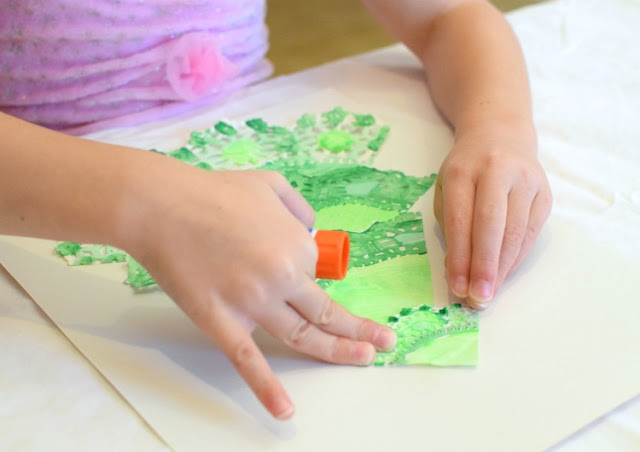
Let your child pick out different wedges to use to assemble a Christmas tree! Glue the pieces in place on a piece of construction paper.
Don't worry too much about gluing it down perfectly flat. The ripples and wrinkles add wonderful texture!
You May Also Be Interested In
From Other Great Bloggers
Paper Plate Laced Christmas Tree from I Heart Crafty Things
Doily And Watercolor Art For Preschoolers from Tinkerlab
Little Angel Collage from Best Toys 4 Toddlers
Christmas Tree Suncatchers from Where Imagination Grows


